Before we talk about "reverse image search", we should first mention that for trivia's "Name Who's in the picture" questions you don't want to name your file the name of what's in the file/image. Page source is available to anyone and is one way that search engines cough up images when you search a place, character, etc. As far as how "reverse image search" works, this website: https://www.maketecheasier.com/how-reverse-image-search-work/ describes it very well. But enough with how they do it. Let's dive into how to stump "reverse image search". First of all, there's no way around it, you're going to need something like adobe photoshop.
Disguising Photos

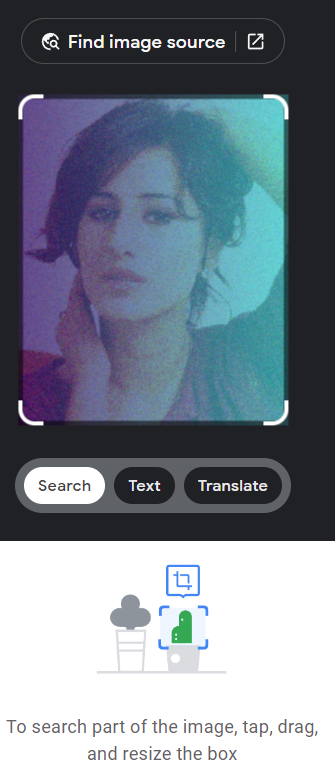
Disguising a photo as a rule is much easier than say a cartoon character where lines are well defined. But let's start with this photo of an actress, pop it into "reverse image search" and see what info it retrieves.
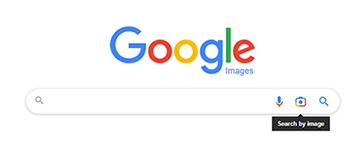
Let's click on the little camera.
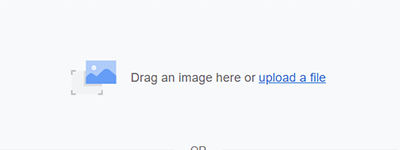
After clicking the little camera a dialog box comes up asking you to drag an image from your computer. On a mobile device you would do a screen grab and copy/paste.
Let's drag our photo of her and see what happens.
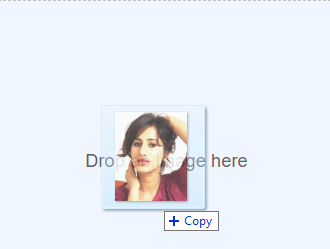
You can see the result below.
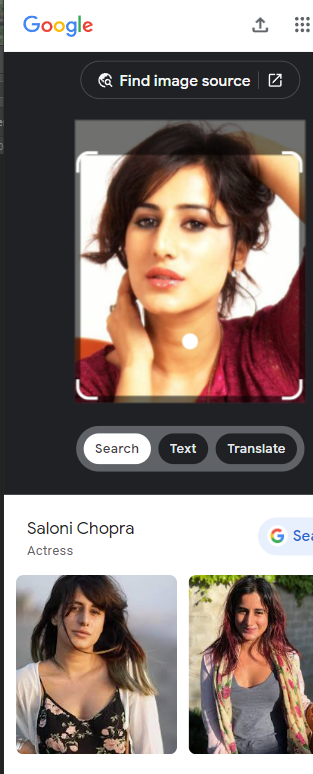
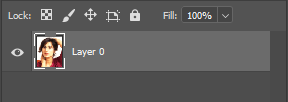
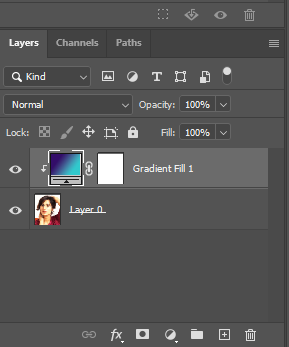
As you can see "reverse image search" figured out who's in the photo. So next let's put the image into photoshop and fix that. Below we've opened image4.jpg in Photoshop and we've displayed here the layers panel.
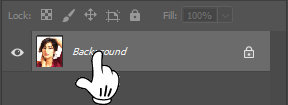
Jpeg and png files are put on a layer called background when opened and to edit that layer the first thing you want to do is double click it (displayed above) so that it becomes Layer 0 (displayed below).
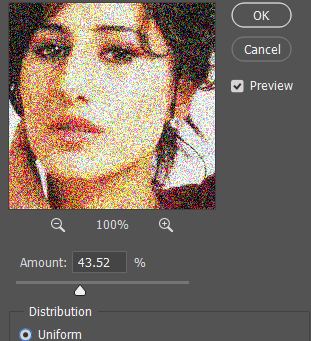
Now go to the top menu and select "Filter" and from the pull down menu select "Add Noise"

When the edit box opens up set the amount to about 44%.
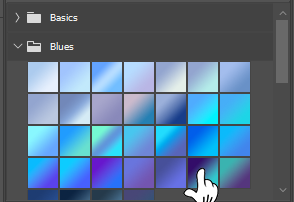
Now if you look above the layer panel you'll see at the top tabs and one of them is "Gradients". Click that. After clicking the Gradients tab you'll see folders named as colors. We picked the folder called "Blues" which resulted in seeing the gradient panel below. (You could choose another folder color)
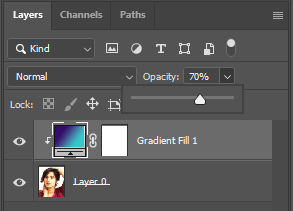
By clicking on the gradient shown you'll see that it added another layer above the initial layer. See below.
As you can see here the gradient layer is above the main layer and thus completely hiding it. So now with the gradient layer selected change the opacity to 70% as shown below.
Now the image is still very much visible but has a colorful rainbow like haze above it. See below
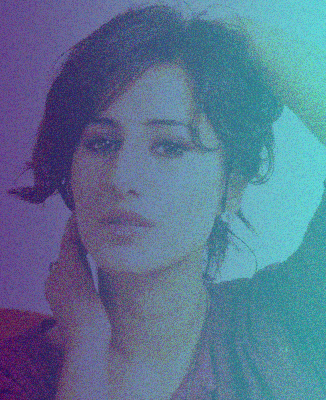
This should be enough.
Let's export it as a png.
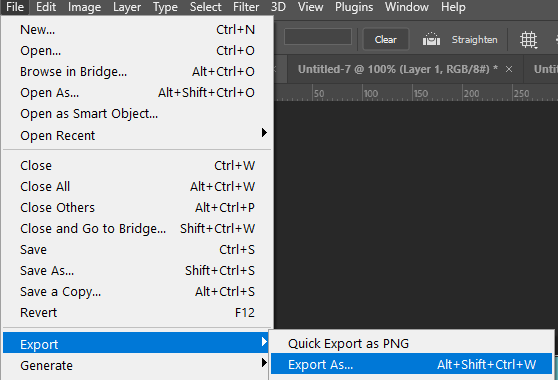
Keep the settings Photoshop suggests before the final export button.
After clicking the export button you'll be prompted to save it.

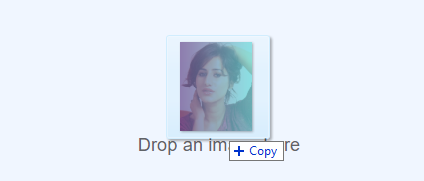
Do the exact same steps you did with the original photo (click on camera, drag and drop your altered image to the box and below you see the result.
And Voila!! No Clue. But remember, the longer this image stays on the internet the smarter reverse search will get. Someone could save this image with the name of who's in it and upload it anywhere and it's game over once the spiders crawl (index) the internet. Even if they take it down.
See how to disguise a cartoon character for "Reverse Image Search"
Contact us
Try it out for free for a week. After that, a one time use for an event would be $15 or you can subscribe for $5/month and use it for an unlimited number of times. You can contact us at Webmesa.com